
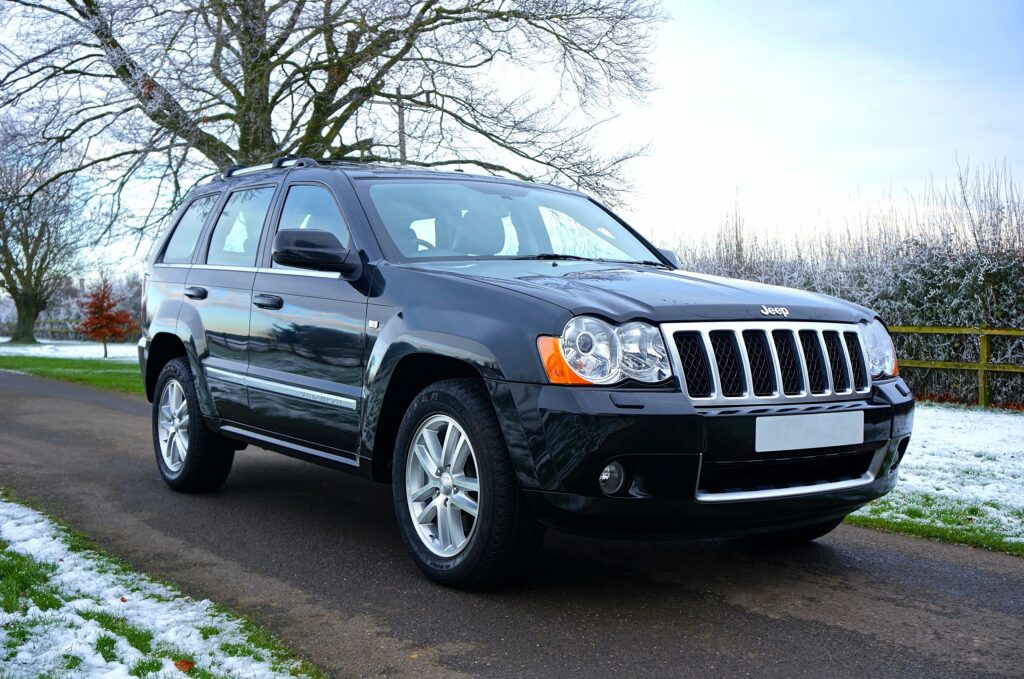
With the average new car price nearing $50,000, buying a used car can be a great way to save money and get a reliable vehicle. However, before you make your purchase, it’s important to thoroughly inspect the car to make sure it’s in good condition.
Even if the car you’re looking at looks great on the surface, there could be hidden problems that end up costing you a lot of money down the line. You do not want to buy a car that has severe problems because both your wallet and time will suffer!
In this blog, I’ll go over the essential steps you should take when inspecting a used car. From checking the exterior and interior to testing the engine, we’ll cover everything you need to know to make an informed decision when buying a used car.
The ultimate goal here is to get yourself a safe and reliable vehicle that doesn’t have any foreseeing major issues down the road that will cost you a lot of money. So, whether you’re a first-time buyer or an experienced car owner, read on to learn how to inspect a used car like a professional.
Want to learn how to negotiate the best deal possible on your next used car purchase?
Join my email list today to receive a free small guide on how to confidently negotiate the price of your next vehicle!
Now, you can go about this procedure in two ways:
Pre-Purchase Inspection
The easy route is to buy a pre-purchase inspection from your local mechanic. Your mechanic will be able to diagnose the vehicle and let you know about its overall condition.
A pre-purchase inspection can save you from discovering hidden problems later down the road that could potentially be expensive. This inspection also reveals if the vehicle has been in an accident that the owner tried to cover up.
Depending on how many cars you will be looking at, a pre-purchase inspection can save you both time and money while giving you peace of mind about your purchasing decision. If there are minor issues with the car you are looking at, you can use this information from your mechanic as negotiating power to try and lower the price of the vehicle.
If you do not want to go the prepurchase inspection route, you can inspect the car yourself. Here’s how:
Do It Yourself
Check the Service History & VIN
To gain insight into the maintenance history of the vehicle and evaluate the credibility of the seller, it’s recommended to request service records from the owner. However, if it’s an older vehicle and the owner has performed their own repairs, you may want to exercise caution when assessing the quality of maintenance performed.
If you live in a state where inspections are mandatory, check the inspection sticker to see if the car is up-to-date with its inspection. If it isn’t, this may indicate that the car has been sitting for a while and/or has problems that would make it fail inspection.
You can also check the VIN of a vehicle by using a VIN checker website. One good reason to VIN check a vehicle before purchasing is to uncover any potential hidden issues that the owner is trying to hide or problems that may not be immediately apparent upon inspection. A VIN check can provide information such as past accidents, title issues, maintenance history, and more, which can help you make an informed decision and avoid buying a vehicle with costly and dangerous issues.
It’s a small investment of time and money that can potentially save you a lot of headaches and expenses down the road.
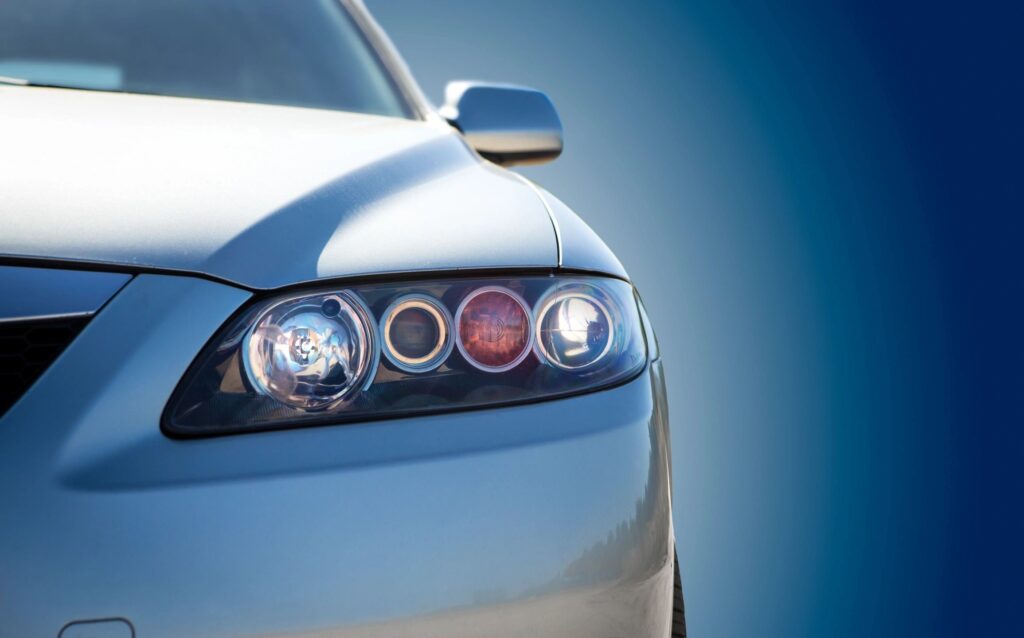
Check the Exterior
First off, always inspect a vehicle while its sunny and dry outside. It’s best to conduct the inspection in good lighting conditions and avoid rainy or dark environments, which can hide imperfections.
When inspecting a vehicle’s exterior, check each body panel and the roof for any blemishes such as scratches, dents, rust, and peeling clearcoat. It’s also important to check the consistency of paint shades across different panels, as different shades of paint could indicate a previous collision or rust repairs.
Additionally, ensure that the windshield is free from chips, as small chips can develop into larger cracks over time. Finally, examine the headlight housing for any haziness.
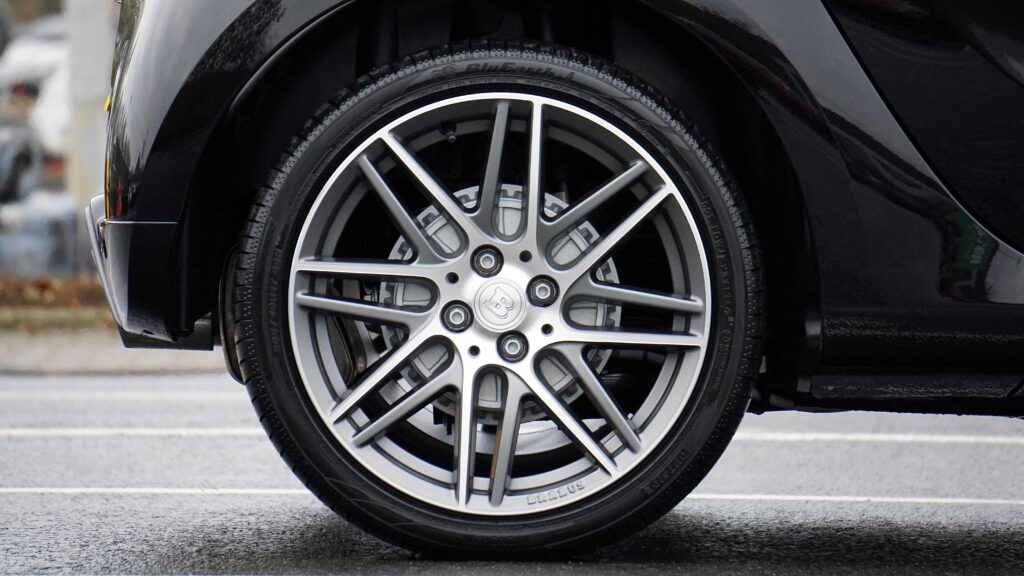
Check the Wheels
Check the wheels for scratches, curb rash, and gouges. On cars with aluminum wheels, check for corrosion, as aluminum wheel corrosion can cause tires to leak over time.
A small but silly tip is to make sure that all four wheels are the same wheels! You would be surprised at how many people have bought a used car with non-matching wheels without realizing it later on.
For the brakes, check the brake rotors to see if there are any deep gouges in the rotors, because this means that the vehicle needs new brakes asap. Rotors that have rust on them may indicate that the vehicle has been sitting for a long time. Cars that have sat for extensive periods of time can develop problems because fluids haven’t been able to circulate through various parts of the vehicle, and the tires can develop flat spots from sitting.
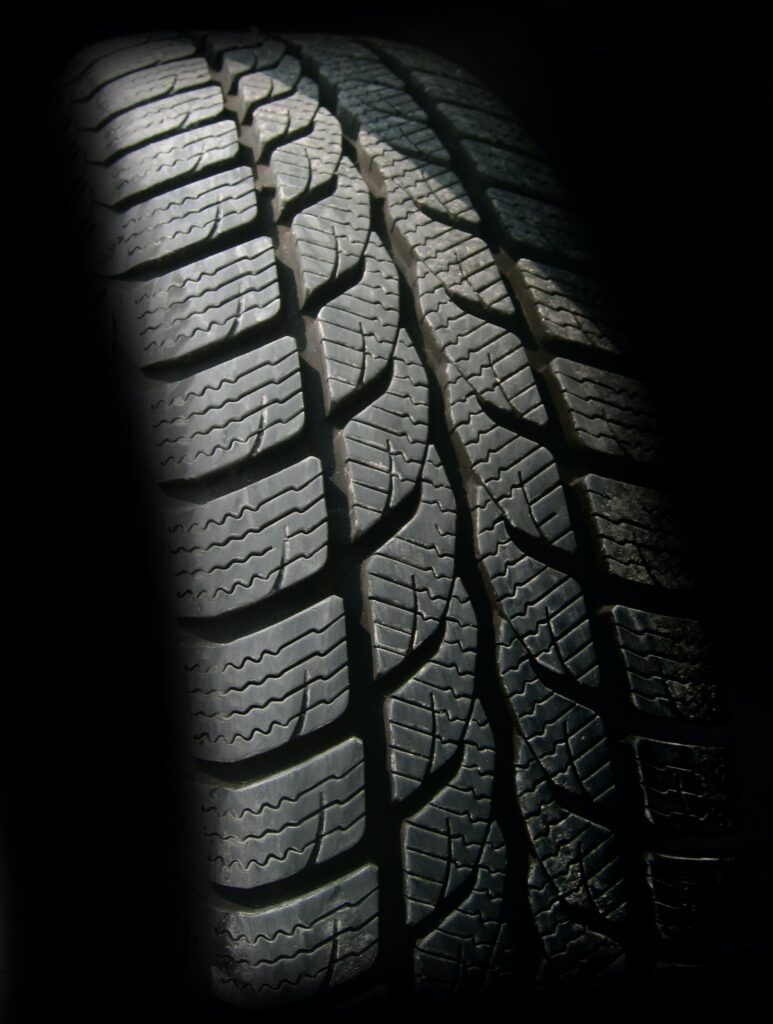
Check the Tires
One important aspect to consider when inspecting a used car is the tires. Not only are they a key component of your vehicle’s performance, but they can also be quite pricey to replace, especially in this current economy!
To assess the state of the tires, give them a good once-over. Look for any cracks in the sidewalls and check how much tread is left. Also, check the DOT code on the tires to see how old they are. The general consensus for replacing tires, despite still having tread on them, is if they are more than 5 to 6 years old.
Also, just like making sure that the vehicle has matching wheels on it, make sure that all four tires are the same brand and size. Different sized tires can cause uneven treadwear and potentially wear out suspension components faster.
Here’s a little neat tip for checking tire tread: take a penny and place it between the tread tracks. If you can’t see the top of Abraham Lincoln’s head, the tires have plenty of tread left on them. However, if you see Honest Abe’s noggin in its entirety, those tires are going to need to be replaced. And while you’re at it, make sure all four tires are the same brand and size to avoid any potential driving issues or excessive wear.

Check the Interior
When inspecting a potential new ride, don’t forget to give the interior a thorough once-over! Start by checking the seats for any wear and tear, and be sure to inspect the steering wheel as well. Make sure that the interior material isn’t damp because you do not want to be dealing with mold and finding out where the leak is coming from.
If the previous owner was a smoker, keep an eye out for burn holes in the upholstery or headliner. Another thing to watch for is a sagging or falling headliner. Lastly, test out all the interior controls to ensure they’re still working properly and that all the buttons and switches still function correctly.
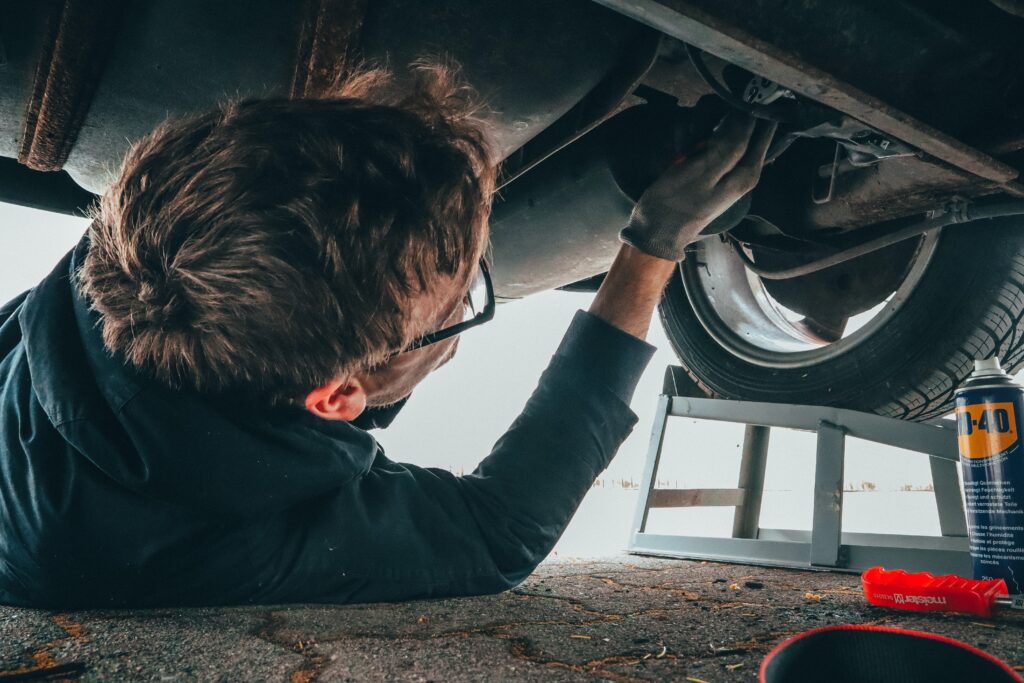
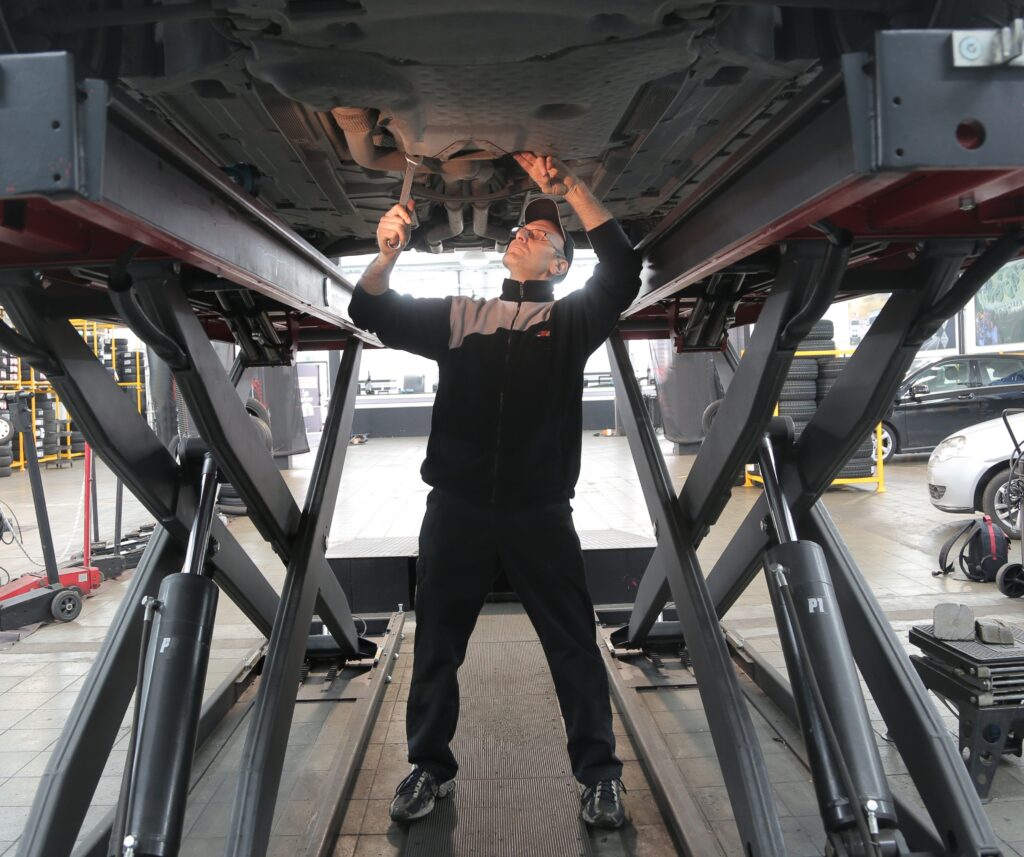
Check the Underbody
Make sure you didn’t wear nice clothes to look at the car because you’re going to have to get on your knees or belly and look underneath the car.
Start by checking for rust – it’s a major issue that can be tough to deal with. Surface rust is usually okay to a certain extent, but keep an eye out for frame and rocker panel rust. If you notice any bubbling, rusty spots anywhere, it could be a pricey fix. Also, check to make sure the frame is straight. A bent frame can indicate that the vehicle was in an accident.
Next, inspect the front of the car for leaks. Check for any little droplets on the ground beneath the vehicle. Take a peek at the engine oil pan and transmission areas for any visible oil droplets, and don’t forget to check underneath the radiator for any coolant leaks. While you’re under there, it’s also important to inspect the axle shafts for damage or wetness around the boots.
Head to the back of the car and check out the muffler and exhaust pipe for any holes. If the vehicle you are looking at has rear-wheel drive, check the rear differential to see if there are any leaks coming from it.
For all around the underneath of the car, make sure the brake lines aren’t wet, and take a good look at the shocks and struts. If the shocks and struts look wet, they could be leaking hydraulic fluid and need replacement, which can be expensive! Remember to check all the bushings for cracks or signs of drying out.
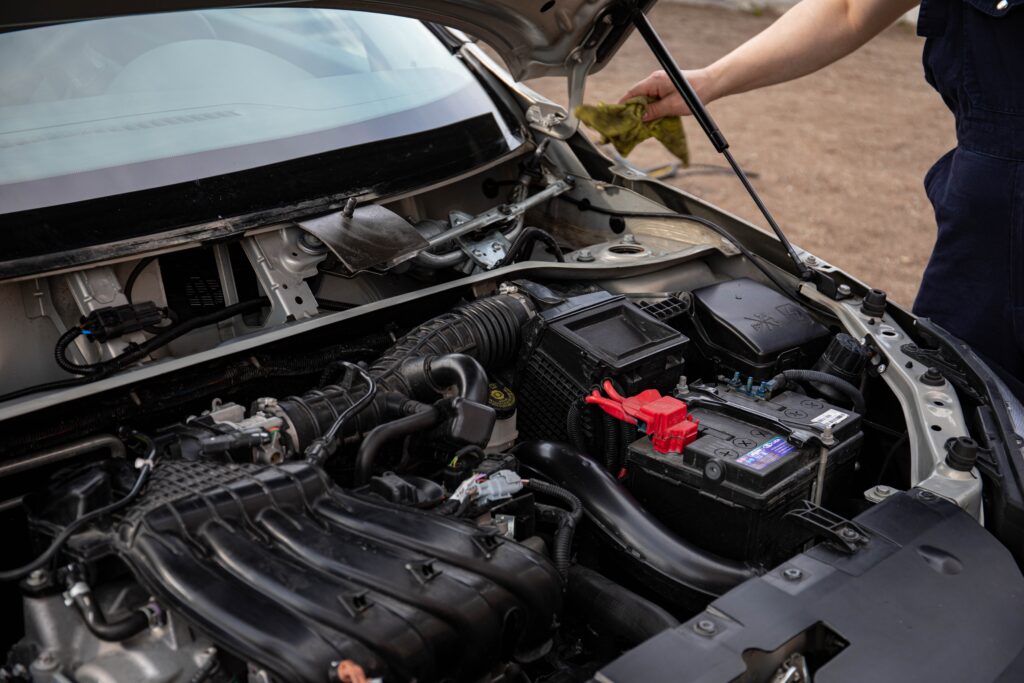
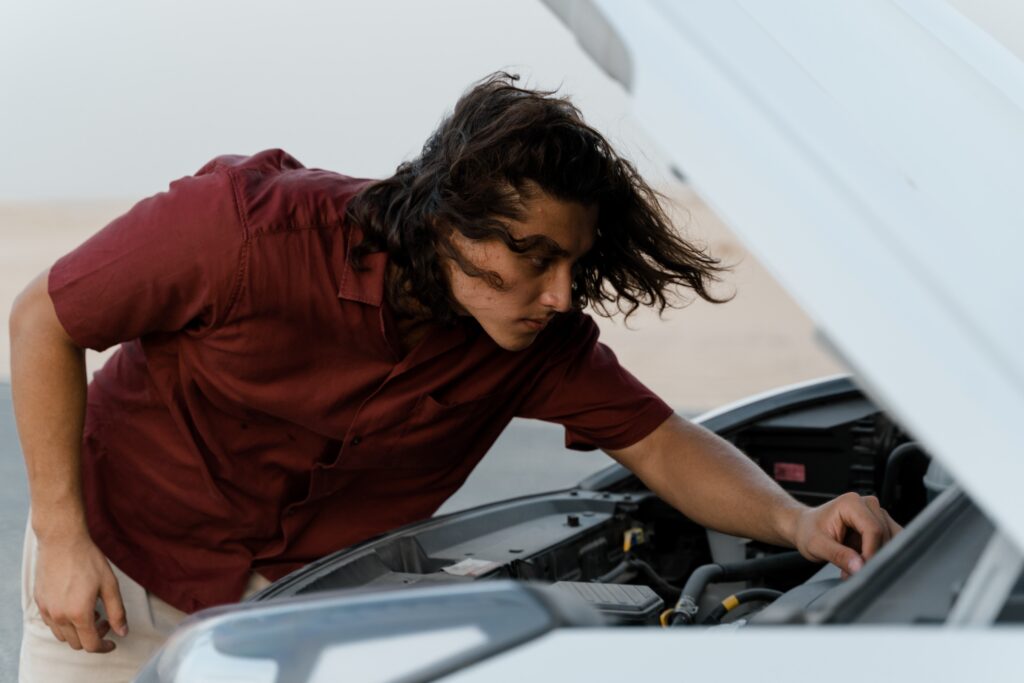
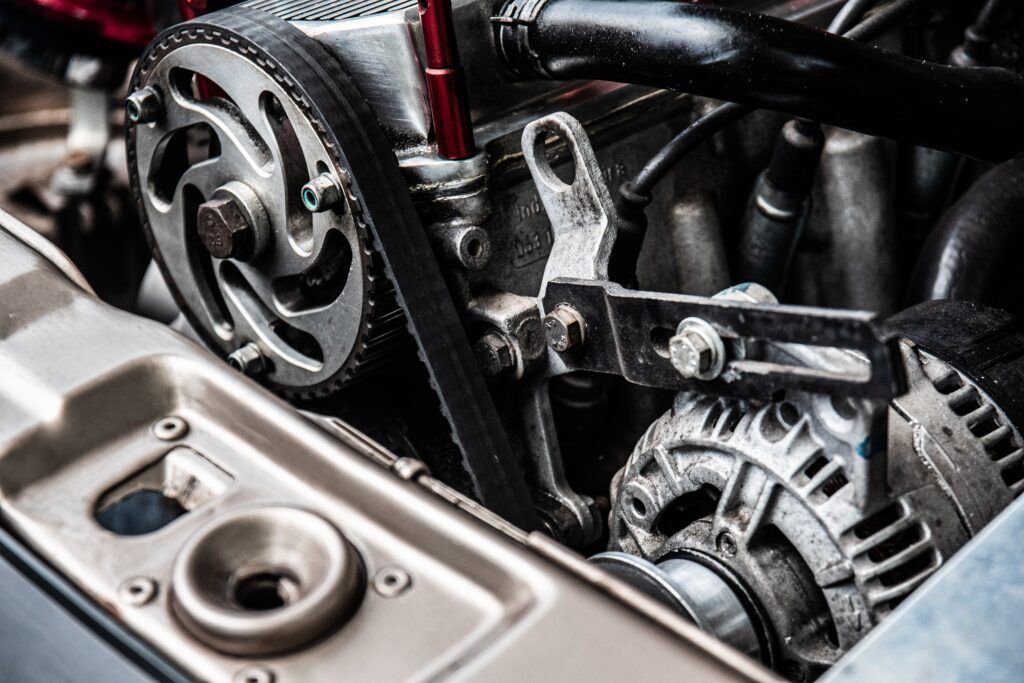
Check the Engine Bay
Now pop the hood, but make sure the hood actually pops open first. Start by checking the hood struts; if the car has them, make sure they’re holding up the hood properly and that it doesn’t fall down when you let go. Next, inspect the fenders and radiator support inside the engine bay. Look for any signs of bending or damage, as this could be a red flag that the vehicle has been in an accident.
Now look at the engine, and make sure that the engine block itself doesn’t look like it’s coated in oil. An engine block is going to have grime on it from the road, but as long as it doesn’t have oil seeping down it, that indicates that the seals and gaskets are still good. Now check the belts to make sure they aren’t cracked or shiny-looking. Also, look at the radiator hoses and see if they look cracked or wet.
Now for the fluids. Start with the engine oil. Use the dipstick to ensure that the oil is at the proper level and doesn’t contain any metallic flakes. Keep an eye out for a milky color, which could indicate a bad head gasket and coolant is leaking into the oil. To get an even better look at the engine, remove the oil fill cap and shine a flashlight inside to check for sludge or other issues. If the vehicle has a transmission dipstick, be sure to check the fluid level and color as well. You’re looking for a reddish color; black fluid could be a sign of problems.
Check the coolant by pulling the radiator cap off, but MAKE SURE THE ENGINE IS COLD FIRST. Taking a radiator cap off of a hot engine will spray out scalding hot fluid, potentially burning your face and skin. Look to see if there is coolant at the top. Next, check the coolant reservoir to ensure it’s at the correct level, which can vary depending on the temperature of the vehicle.
Also, inspect the brake master cylinder for leaks and make sure it’s filled to the line. Similarly, check the power steering reservoir for fluid color and level. If the power steering fluid is black, it could indicate a serious problem with the power steering assembly.
Check the Engine While Running
First things first, when you start the vehicle, make sure that it doesn’t have a check engine light, ABS light, or airbag light on, as these lights being on while the car is running will indicate that there is a problem with the vehicle. If one of these lights is on, you can bring an OBD-II scanner if you have one to see what the problem is.
Most off-the-shelf OBD-II scanners will only read codes for “check engine” lights; a fancier one will be able to diagnose more. If the scanner shows that it has a lot of codes, then it’s not worth continuing to inspect the vehicle.
On the initial startup of the car, make sure that there is no blue or white smoke coming out of the exhaust. Also, give the car some light revs to see if any visible smoke comes out of the tailpipe. You do not want to see any smoke coming out of the exhaust tailpipe; the only exception is when it is cold outside because exhaust will be visible until the engine reaches operating temperature.
A reminder: blue exhaust smoke means that the car is burning oil, while white exhaust smoke can indicate that the vehicle has a blown head gasket.
Use those big ears of yours to listen for a noisy exhaust, as this could mean either of two things: either the owner wanted their car to feel like a racecar, so they got an aftermarket exhaust, or there is an exhaust leak somewhere in the system.
Look at the engine bay when the engine is being revved up to make sure that the engine isn’t moving excessively. Keep a close eye on the engine itself to make sure it is idling smoothly and not jittering. An engine that moves a lot when revved up indicates that its motor mounts are worn out.
Visually inspect the engine bay while the car is running to see if there are any visible leaks. Listen to the engine while it’s idling to hear for any unusual noises. Listen to make sure the engine isn’t ticking loudly, but it may tick a little due to the car just having generally noisy fuel injectors. When closing the hood, make sure that it latches properly and isn’t moving while latched.
Onto the Test Drive
Now, it sounds like there are a lot of steps involved in this process of inspecting a used car yourself, which is true. At the end of the day, you are saving money and time rather than taking the car to a shop for a pre-purchase inspection.
More than likely, a used car is going to have some problems, some more minor than others, but it’s your decision on whether you think that those problems are manageable or can be affordably fixed.
If everything looks good by your standards, it’s time to take the car out for a test drive. If you would like to read up on how to properly test drive a vehicle to ensure that you are making the right purchase, you can read how to test drive a used car before purchasing it.